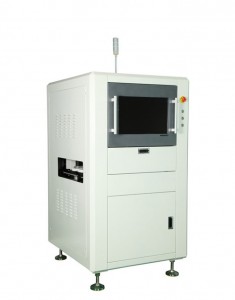
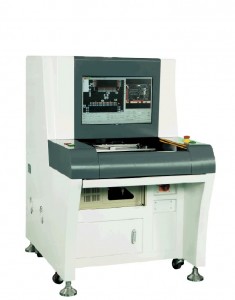
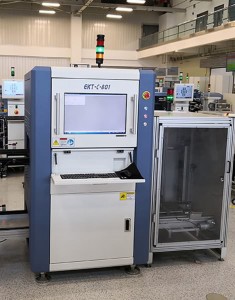
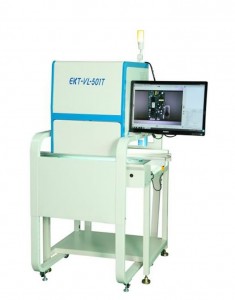
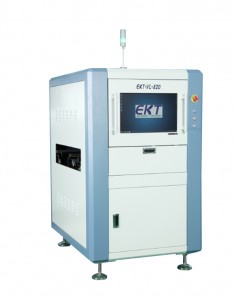
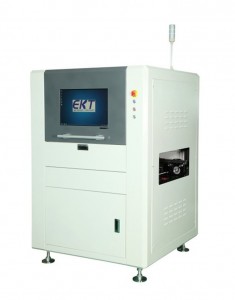
Desktop Offline AOI Machine 581T
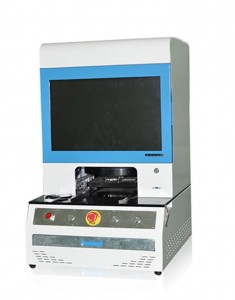
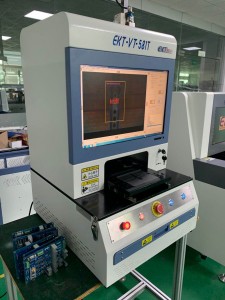
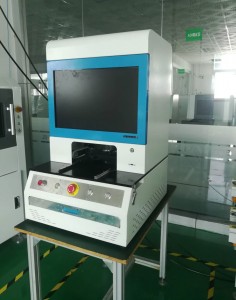
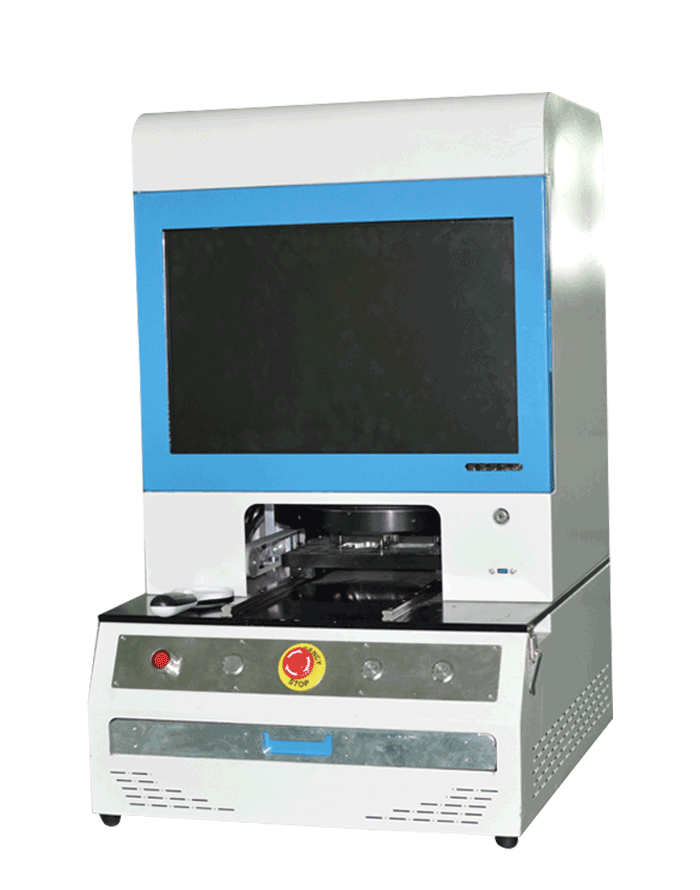
Desktop overall-view AOI:
Product Detail:
• Visual inspection for small PCB or components
• Desktop design, compact size does not require installation
• Fully compatible, retaining the AOI function with fixed camera
• Support different size of annular light source
• Support 5million or 20million pix camera, support function of barcode gun
• Coordinated operation of windows 7 64 bit
• Easy operation and high cost-effective
Specifications: EKT-VT-581T
|
Inspection system |
Application |
Visual inspection for small PCB or components |
|
Program mode |
Manual programming |
|
|
Inspection Items |
Component defect: missing or excessive component, misalignment, uneven, edging, opposite mounting, wrong or bad component etc. |
|
|
Soldering defect: excessive or missing solder, empty soldering, bridging, solder ball, IC NG ,copper stain etc. |
||
|
Calculation |
Machine learning, color calculation, color extraction, gray scale operation, image contrast |
|
|
Inspection mode |
Optimized inspection technology covering the whole PCBA board |
|
|
SPC statistics function |
Fully record the test data and make analysis,,with high flexibility to check production and quality status. |
|
|
Component angle |
Support 0~359° rotation,minimum angular distance 1° |
|
|
Minimum component |
0201 chip、0.1*0.1 mm |
|
|
Optical system
|
Camera |
5 million pix full color high speed industrial digital camera , 20 million pix camera optional |
|
10um/15um/18um/20um/25um, can be customized |
||
|
lighting source |
Self-configurable ring stereo multi-channel color light source, selection depending on application, RGB/RGBW/RGBR/RWBR, coaxial light source or large light source optional |
|
|
Computer system |
Operation system |
Windows 7 64bit |
|
Display |
22inch, 16:10 |
|
|
CPU |
Inter i7 or same level |
|
|
RAM |
8GB |
|
|
SSD |
128GB |
|
|
Software |
Language |
Chinese/English optional |
|
Access Control |
Administrator,programmer, operator 3 levels access control. |
|
Mechanical system |
Moving and inspection mode |
PCB automatic moving in and out, step motor drives PCB to the inspection position under camera light source, camera takes a FOV image to detect. |
|
Components dimension |
10*10mm~120*120mm, can be customized |
|
|
Components thickness |
0.3~5.0mm |
|
|
Components weight |
Max:3KG |
|
|
PCB bending |
<5mm or 3% of PCB Diagonal length |
|
|
component height |
Top:30mm,Bottom:80mm。adjustable,can be customized base on need |
|
|
Y driving system |
Step motor plus precision driving system |
|
|
Y moving speed |
Max:500mm/s |
|
|
General parameters |
Machine dimension |
L650 * W560 * H900 mm |
|
Power |
AC220V,50/60Hz,0.8KW |
|
|
Machine weight |
50KG |
|
|
Safety standard |
CE safety standard |
|
|
Environment temperature and humidity |
10~35℃,35~80% RH (non condensing)
|
|
|
|
Optional configuration |
Maintenance station, offline programming system, SPC servo, bar code system, MES interface |
he real purpose of off-line baiAOI equipment in SMT production is not merely to test the assembly quality of circuit boards for dao as most people understand at present, but to provide an analytical data basis for SPC. In order to improve the quality of the product, the defect information is collected, and on this basis, an appropriate SPC chart that meets the requirements of SMT process modification is provided. The chart should be generated in real time, as a powerful auxiliary tool for engineers to manage the product quality of the production line, and there should be a variety of instructive charts, not just some simple but unintuitive statistical tables. In summary, the SPC analysis report will become a direct basis for controlling the production process, and it is also the key to improving production efficiency and reducing defects.
AOI mainly uses the principle of optical sensing to detect common defects encountered in welding production.
AOI has developed rapidly in recent years. At present, many manufacturers have launched AOI test equipment. Its operation process, when the automatic inspection is started, the machine automatically scans the PCB through the camera, collects image files, compares the tested solder joints with the qualified parameters in the database, and checks out defects on the PCB through image processing.
Once the machine issues a warning, the AOI equipment display will display/mark the PCB defects for maintenance personnel to process and repair, so as to avoid continuous processing and cause greater losses.
The use of AOI tester equipment in the first piece inspection reflects the need to quickly and effectively verify the assembly settings before production runs. It can effectively confirm that all the feeders are properly set up, the nozzles are not worn, and the parts of the placement machine are correct. The key is to detect whether the parts are in place, the parts are wrong, or the part orientation or polarity is wrong.
The purpose of using AOI detector equipment is to generate information to monitor the production process. Generally speaking, it includes detailed defect classification information and component placement deviation information. In a high-volume/low-mix production environment, when product reliability is very important and focus on specific process issues, manufacturers tend to put the inspection target first.
When testing reliability products, performance determination is often the target of testing, and AOI equipment is used to find all abnormal phenomena. The data of the test results reflect that the separation rate is almost non-existent, but false reports have increased and the test time has increased. If AOI equipment is used after reflow soldering, solder joint inspection will be an important standard.
Since the AOI detector equipment is placed at the end of the production line, a large amount of process production data can be collected in this detection stage. Online monitoring of specific production conditions, and providing the necessary basis for the adjustment of the production process, determining the problems in the production process, can increase the yield of products, reduce costs and improve production results.


